
Mortal Shell 2 Beginner Guide: First-Hour Priorities
Start Mortal Shell 2 safely: choose your first open-world Shell, learn the right Seal, and unlock weapon upgrades without wasting the opening hour.
The safest first hour
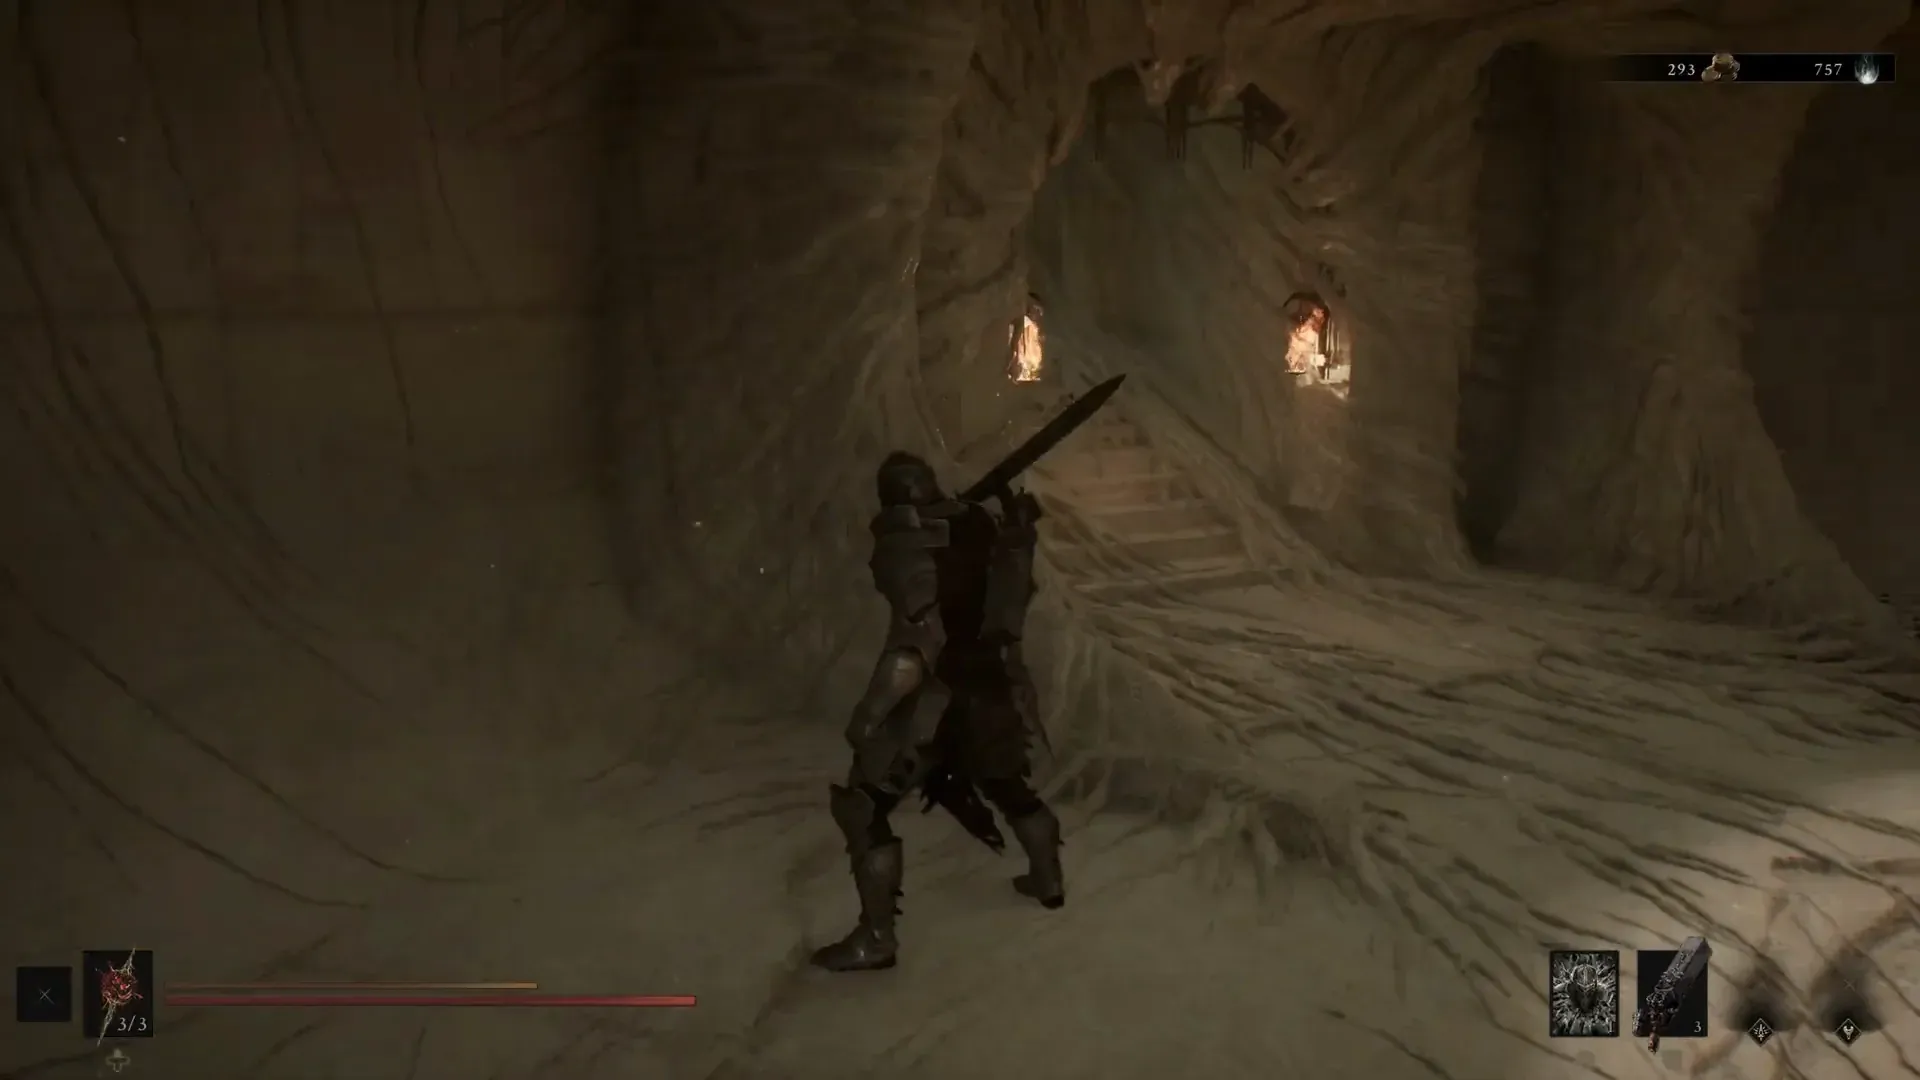
Finish the prologue, use Marrowkeep as your hub, secure Proxima or Tiel, keep the Untarnished Seal while you learn defensive timing, and make sure you collect the actuator that unlocks Franz’s weapon-upgrade machine. That order gives you a Shell, a safe defensive tool, and access to upgrades before you spend time on optional fights or long detours.
| Priority | What to do | Why it comes now |
|---|---|---|
| 1 | Finish the prologue | It takes you to Marrowkeep, the first hub for early progression |
| 2 | Open the chest in the first beacon encounter | The actuator inside is required for weapon upgrades |
| 3 | Use Widow’s Overlook as your open-world anchor | Both nearby early Shell routes begin from this beacon |
| 4 | Claim Proxima or Tiel | Fighting in a Shell is safer than taking unnecessary fights in the base body |
| 5 | Learn with Untarnished Seal | An early input still becomes a block instead of an unprotected miss |
| 6 | Give the actuator to Franz | His machine becomes your route into weapon upgrades |
Follow where to go first for the turn-by-turn travel sequence. If you only want the Shell choice and what each option changes, use the first Shell guide.
What no stamina really changes
Attacks and evasive movement are not limited by a stamina bar. You do not have to preserve a small reserve just so you can dodge after swinging. That freedom does not remove defensive timing: enemies still pressure you through guard, Perfect Guard, parry, harden, break, and riposte decisions.
The basic combat loop is:
- Read the incoming attack instead of spending your whole opening on offense.
- Guard, Perfect Guard, parry, harden, or evade according to the Seal and Shell you chose.
- Build break damage until the enemy is opened.
- Use the opening for a riposte or your next safe attack.
Removing stamina changes what you manage. Your limiting question is no longer “Do I have enough bar left?” It is “Can I finish this action before the next hit lands?” The detailed cues and punish windows are in the parry timing guide.
Choose a Shell before chasing fights
Widow’s Overlook is the shared landmark for two nearby options. Pick the one that matches how you want to handle the opening fights.
| Shell | Opening role | Pick it when | Reason |
|---|---|---|---|
| Proxima | Shorter nearby open-world route | You want the quickest safe start | The route runs through Black Ridge Pass into the Shattered Beacon |
| Tiel | Nearby evasive alternative | You prefer dodging to Seal timing | A last-moment dodge puts Tiel into Shadow and adds stagger to the response |
Proxima is the default recommendation because the route is short and direct. Tiel suits a different defensive preference. The nearby boss and ordinary enemies on Tiel’s approach can be bypassed, so you do not need to prove anything before you have a proper Shell.
Start with the Seal that forgives mistakes
The Seal decides what happens when you press your defensive input. Begin with Untarnished and switch only when you understand what safety you are giving up.
| Seal | Defensive result | Beginner use | Reason |
|---|---|---|---|
| Untarnished | Holds a normal block; a timed Perfect Guard deals break damage | Start here | Pressing early still protects you, but it cannot cancel an attack already in progress |
| Vatra’s | Holds a harden against the next hit; a Perfect Harden refreshes its recovery meter | Try after the basics | It can interrupt an attack animation while retaining protection for an early input |
| Infinite | Parry with higher break damage and no fallback guard | Learn later | It can cancel an attack, but a mistimed input leaves you exposed |
| Slayer | Adds break pressure to sidearm attacks and restores health and Resolve after the resulting riposte | Use for a sidearm-led approach | Its value comes from creating and finishing break openings |
Infinite Seal comes from completing the parry training at Marrowkeep. Unlocking it early does not make it the right learning tool. Treat it as the next step after you can recognize impact timing with Untarnished. The Seals page is the hub for every early Seal job.
Do not miss the weapon-upgrade actuator
The first beacon encounter contains a chest with the actuator that Franz needs. Open that chest before you leave the encounter, then take the item to Franz at Marrowkeep. His weapon-upgrade machine becomes available after the handoff.
If Franz’s machine is unavailable, verify the actuator before assuming you need another weapon, Shell, or boss clear. This one item is the bridge between the opening route and the weapon-upgrade system.
Your first-hour checklist
- Finish the prologue and reach Marrowkeep.
- Take the actuator from the first beacon encounter.
- Use Widow’s Overlook as the start of your open-world route.
- Claim Proxima for the quickest start, or Tiel for an evasion-led start.
- Keep Untarnished Seal equipped until Perfect Guard timing feels deliberate.
- Give the actuator to Franz and confirm that weapon upgrading is available.
- Learn the break-to-riposte loop before treating every encounter as a damage race.
Once those boxes are checked, continue with the opening route, then use the first boss guide when you are ready for a fight-specific plan. A full walkthrough is unnecessary for this opening setup.
Frequently asked questions
Which Shell should a beginner get first? Proxima is the shorter nearby open-world pickup. Choose Tiel instead if you want an early Shell built around last-moment dodges and Shadow.
Do I need to beat a boss before getting a Shell? No. The documented Proxima route avoids an unnecessary fight, and the enemies and nearby boss on Tiel’s route can be bypassed.
Which Seal is easiest to learn? Untarnished. It keeps a normal guard as the fallback when your Perfect Guard timing is early.
Why can I not upgrade my weapon at Marrowkeep? Franz needs the actuator from the chest inside the first beacon encounter. His upgrade machine opens after you hand it over. The weapon upgrades page covers the Franz handoff and the later Tarforge finish.
Does having no stamina make combat easy? No. It removes stamina budgeting, but defensive timing, break pressure, positioning, and commitment still decide whether an attack is safe.
Advertisement